营养美味的芝士肉松三明治
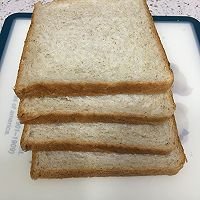
步骤1
四片吐司片准备好,我用的是全麦吐司,原味或者全麦和牛奶吐司都可以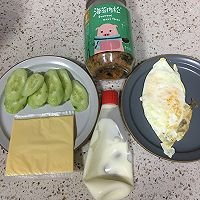
步骤2
把其他材料准备好,荷包蛋煎好,黄瓜去皮切片,沙拉酱我的基本被我用完了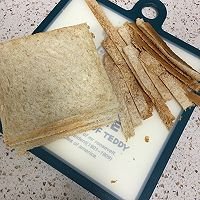
步骤3
把吐司的边缘一圈切掉,如果喜欢吃也可以不切,我切是因为美观和口感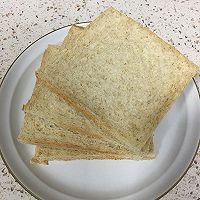
步骤4
切好的吐司片备用
步骤5
把芝士片去掉包装纸,放在一片吐司片上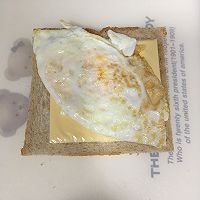
步骤6
再放上荷包蛋
步骤7
再盖上一片吐司片,挤点沙拉酱涂满吐司片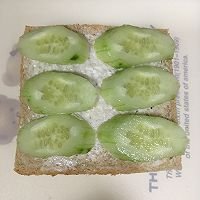
步骤8
放上黄瓜片
步骤9
再放上一片吐司片,涂满沙拉酱,放满肉松
步骤10
放上第四片吐司片
步骤11
找一张油纸比吐司片长大约两三倍的样子,准备包吐司,没有油纸也可以用保鲜膜包起来,保鲜膜包起来更简单
步骤12
把吐司放在油纸一边卷起来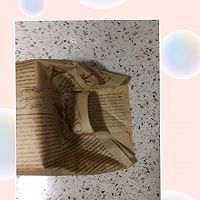
步骤13
卷好后一头像这样压一下
步骤14
一边折一下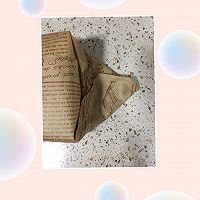
步骤15
对角也折一下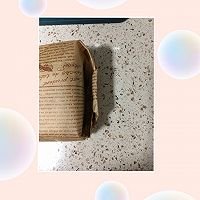
步骤16
把尖角折过来塞里面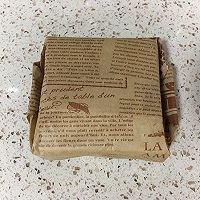
步骤17
同样步骤两边都折好,这是反面
步骤18
这是正面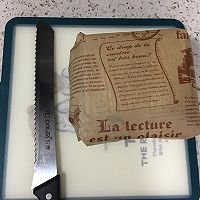
步骤19
用这种有齿的刀把三明治切成两半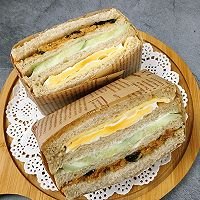
步骤20
美味营养的三明治完工
步骤21
我写的步骤有点繁琐,其实很简单哦!
步骤22
三明治的馅料按自己喜欢的口味,可以换成其他品种,这是放了紫米的
步骤23
这是放了火腿片的三明治